

When I started in birth photography 8 years ago, every time I posted a photo, I thought – Will this offend someone? Will people unlike my page if I post this? Is this photo “too much?”
If even 1 person thought it was inappropriate, I let it affect my business, my marketing and my confidence. These fears & insecurities swirled in my head and slowed me down, until I realized… “If I have a passion & drive for birth photography – it’s for a REASON. It’s because I’m made to be a birth photographer.” And the same thing is true for you my friend! Your passion isn’t there on accident, and that passion is not something everyone feels!
Then, I started sharing photos that lit me up. Photos of babies being born. Moms in the throws of labor. Families meeting those babies in the hospital room and at home. Sometimes photos of placentas 🤭
And you know what? I got unlikes and unfollows. But I also got a LOT of new people liking my page, following along and hiring me!
So, I’m here to encourage you!
I pushed through those fears, and now have, photographed well over 100 births, a photography studio in my town, 3 team members and retired my husband with my birth photography business.
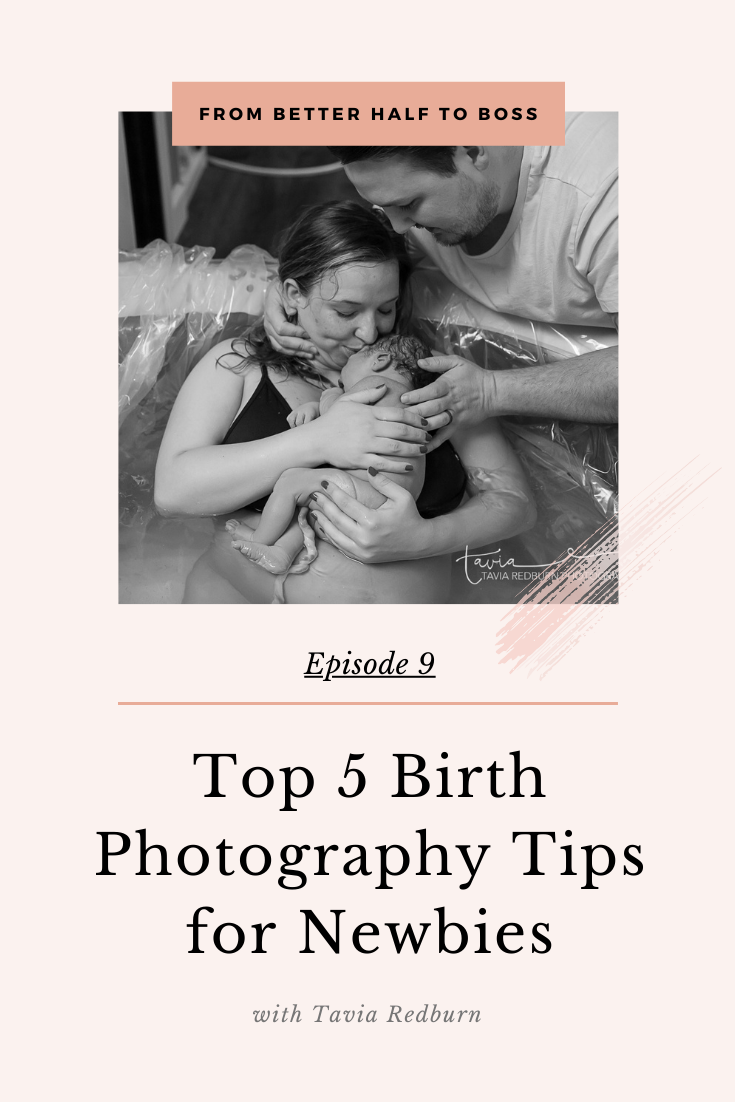
Which is why in this episode, I’m going to share with you my top 5 tips for new birth photographers (things I wish I knew back then).
My Top 5 Tips for New Birth Photographers
Before we get into the episode – I know a lot of you tuning in to this podcast are birth photographers or interested in becoming birth photographers, so if you want my exact, step by step system to photograph birth confidently, my online course for birth photographers, “The Beauty in birth Photography course & Certification” is open for enrollment!
I’ll walk you through everything, from how to set up your business, using your camera in a birth, lighting, editing, on-call life, the stages of birth (so you know when to show up) and SO much more! If you are ready to take your birth photography to the next level, go to certifiedbirthphotographer.com to get all the info!
Now on to those tips!
It’s hard to believe, but our free FB group “Marketing for birth photographers” has grown to over 4,000 photographers and a question I see come through often is “I am new to birth photography. There are so many things I need to do to become established and it feels overwhelming. What do I need to know before I get started?”
#1 BIRTH IS UNEXPECTED, SO PREPARE FOR EVERYTHING.
This sounds self explanatory, but as a new birth photographer I want you to remember that you might get to a birth and think labor is going to go really fast, and it doesn’t. I’ve made this mistake before where I think that the birth is going to go really fast so I don’t grab snacks or any water, and then it ends up being 20 hours.
I highly recommend keeping a bag ready to go with snacks, clothes, a jacket and blanket (hospitals are notorious for being cold), chargers for all of your stuff and your phone, and backup equipment for everything.
I want you to prepare to be there for 24 hours, so bring a toothbrush, face wash, and anything else you might need to be there for 24 hours.
#2 REMEMBER, YOU’RE WALKING INTO A BIRTH.
This is not a wedding. This is not a portrait session. This is a birth. You have no idea what the situation is going to be when you walk in there. Keep that in mind. You need to mentally prepare for the kind of situations you might be walking into, and remember that you’re at a birth. Treat it as the sacred event that it is.
- I slowly open the door. I peek in. I wait a second. I don’t speak until I’m spoken to. I don’t just bust in there like it’s a wedding or some other party or event.
- Try to be a fly on the wall. That’s what I really strive for, and that’s what I tell my clients. I don’t really speak until I’m spoken to. I sort of sit back, and sometimes when I first get there I’ll use a longer lens to get those detailed, up-close shots without having to actually be up close.
- Know the kinds of photos the mom wants before you get to the birth. The birth is a time when you should already know exactly what she’s expecting, and you should come in knowing what she wants because you’ve already talked about it, so you definitely aren’t asking her a bunch of questions while she’s in labor. You already know who’s going to be there at the birth, if her family is in the waiting room, if she wants shots of placenta. Things like that are what you should talk about during the consultations.
#3 GET THE DETAILS, BE ARTISTIC, AND FEEL FREE TO BRING A SHOT LIST.
So, details. This is what really can make your images look artistic and what can really set you apart.
I’m always looking for little details of things that are unique to that birth. At a birth I attended recently, the mom had a hospital cup and someone had written “mom” on it, so I got a shot of that with her belly in the background. Pay attention to those little details that are happening around you. Of course, there are things like equipment, the building outside, and the hallway. I’ve even gotten photos of moms texting. Usually she’s texting about labor, and I always thought it would be fun to look back on what cell phones looked like.
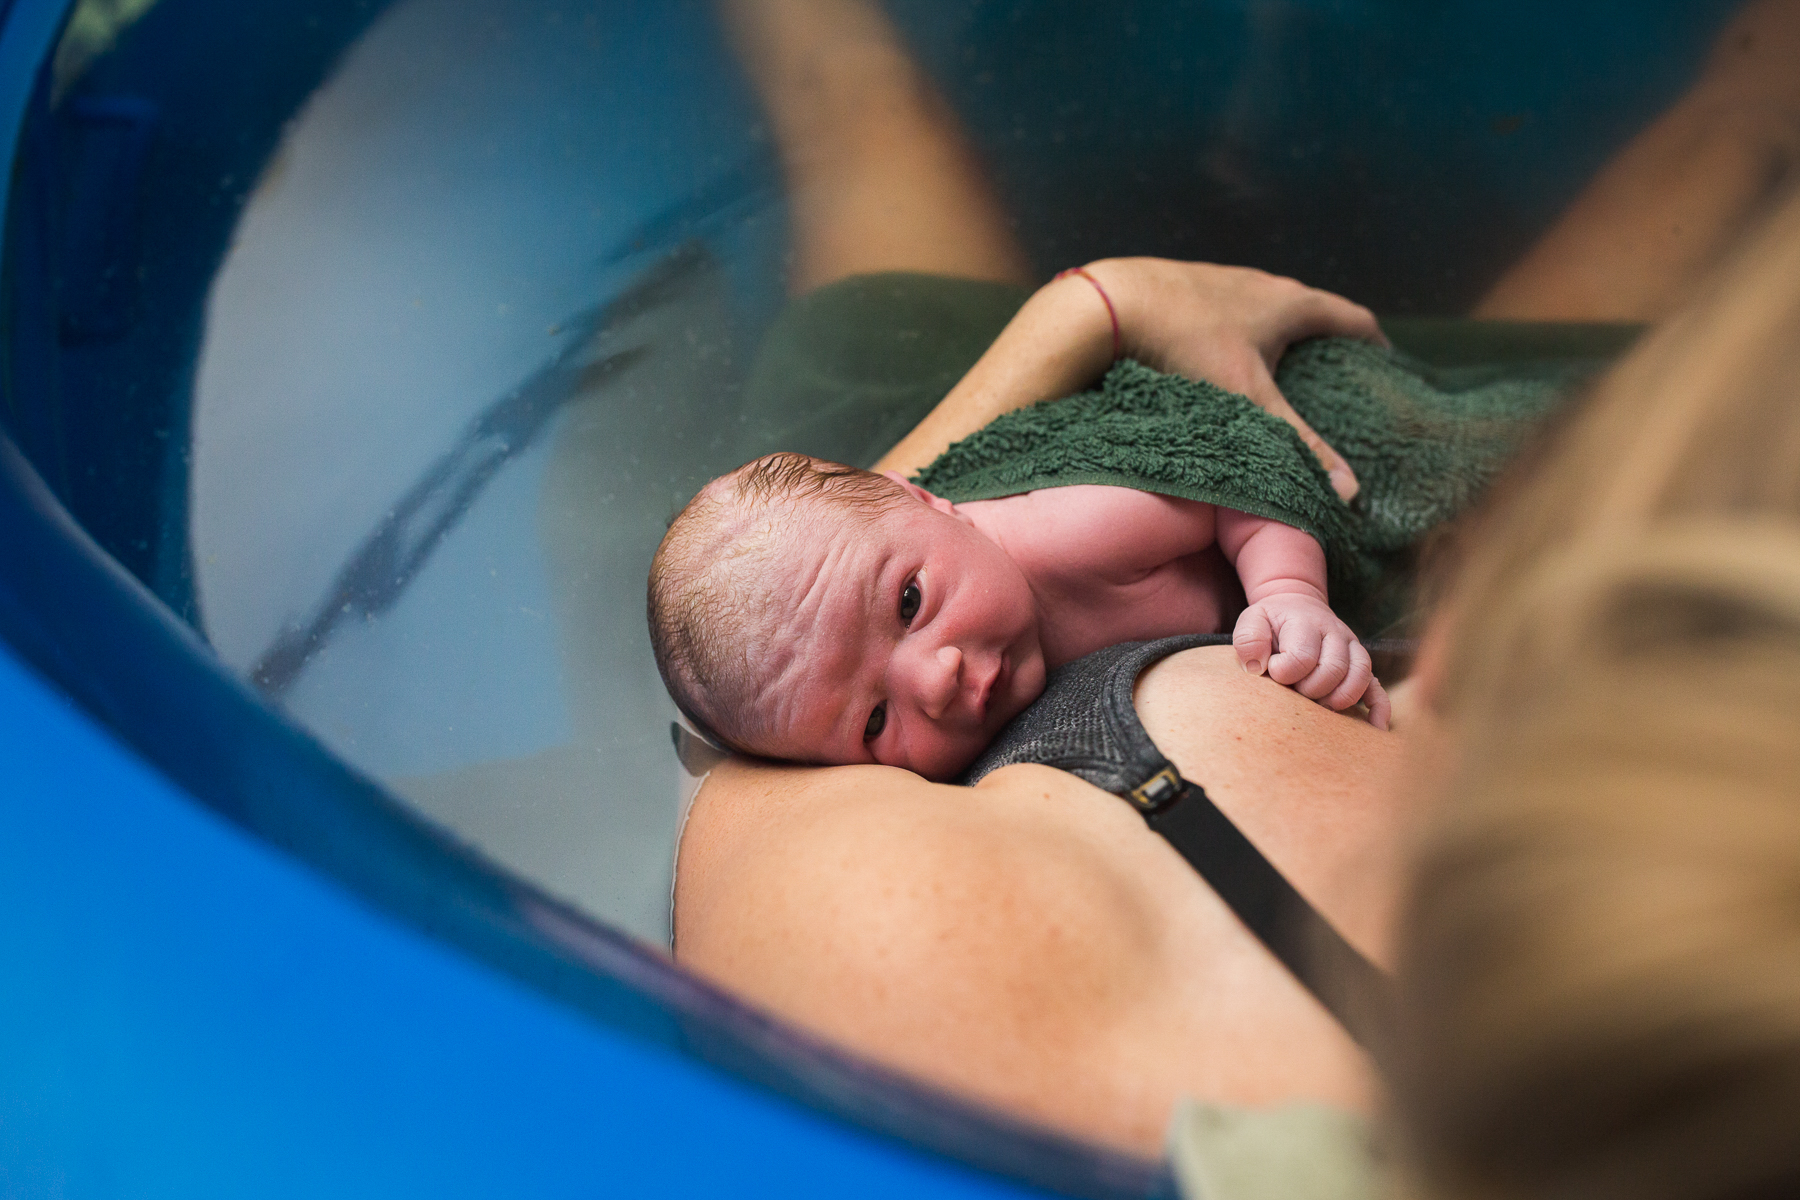
I also like to get baby details after baby is born. Little ears and fingers, a closeup of when they are measuring baby after the birth, and all that good stuff.
As a new birth photographer—and really even as an established photographer—it’s okay to have a shot list.
It’s okay to have an idea of what kind of images you want to want. Talk to mom, write it out and bring your list so you don’t forget anything.
In any situation I’m always varying my angles. For example, with mom laboring in a hospital bed, I can take a shot of that while I’m standing, but I can also crouch down, zoom in, zoom out, or stand up on something and shoot downward. Vary your angles in different situations, and that’s just going to give different perspectives and make everything more interesting.
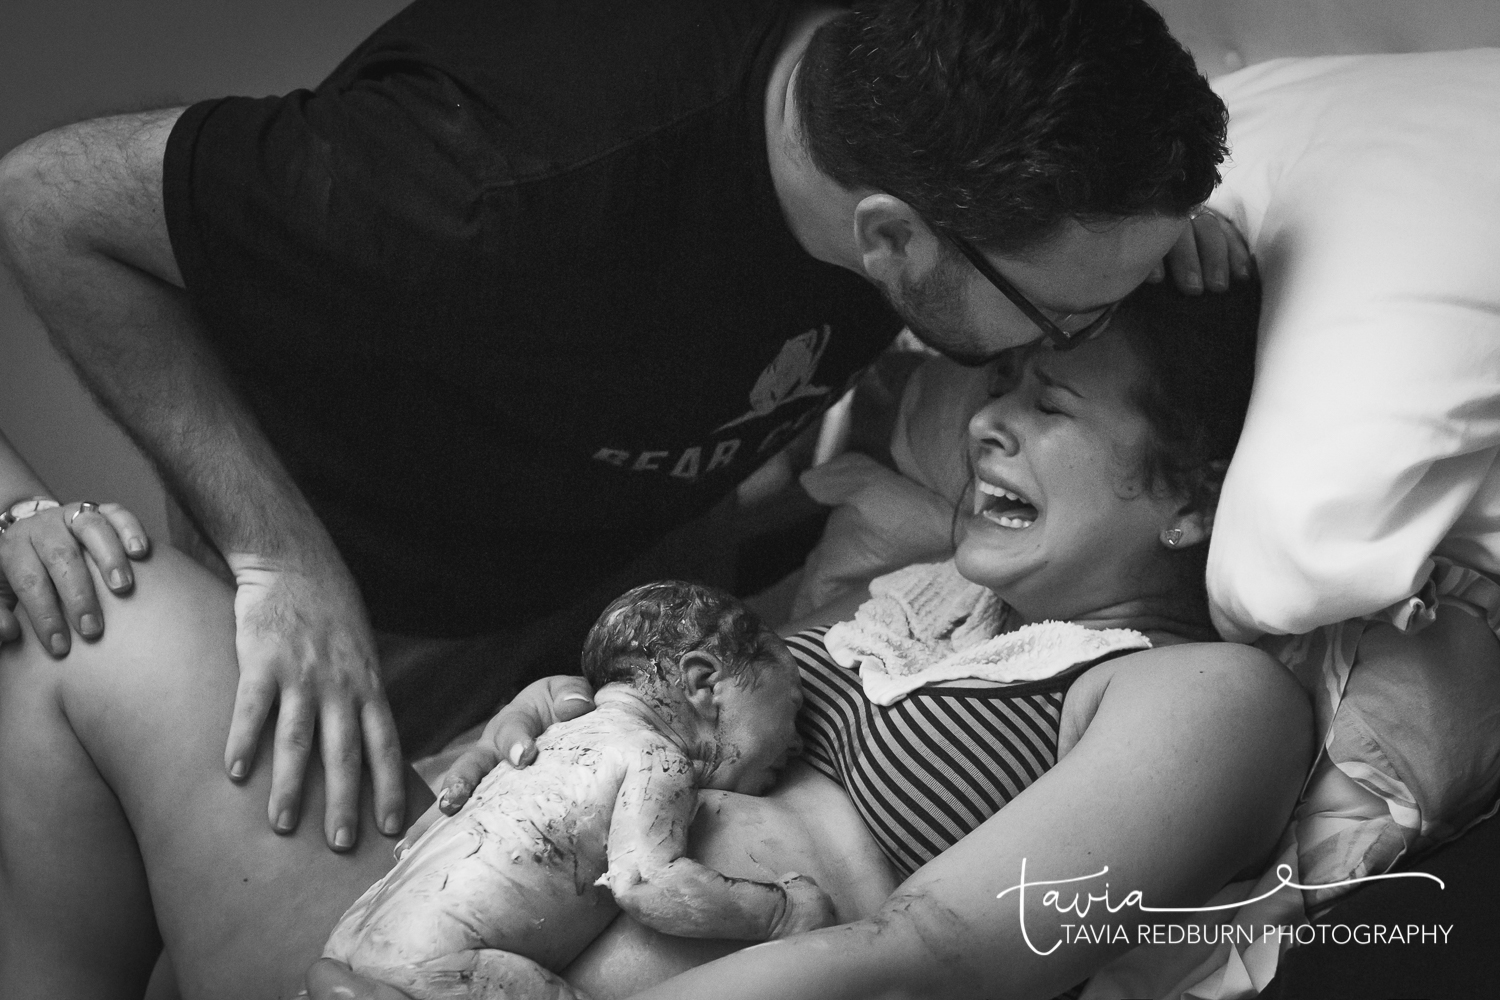
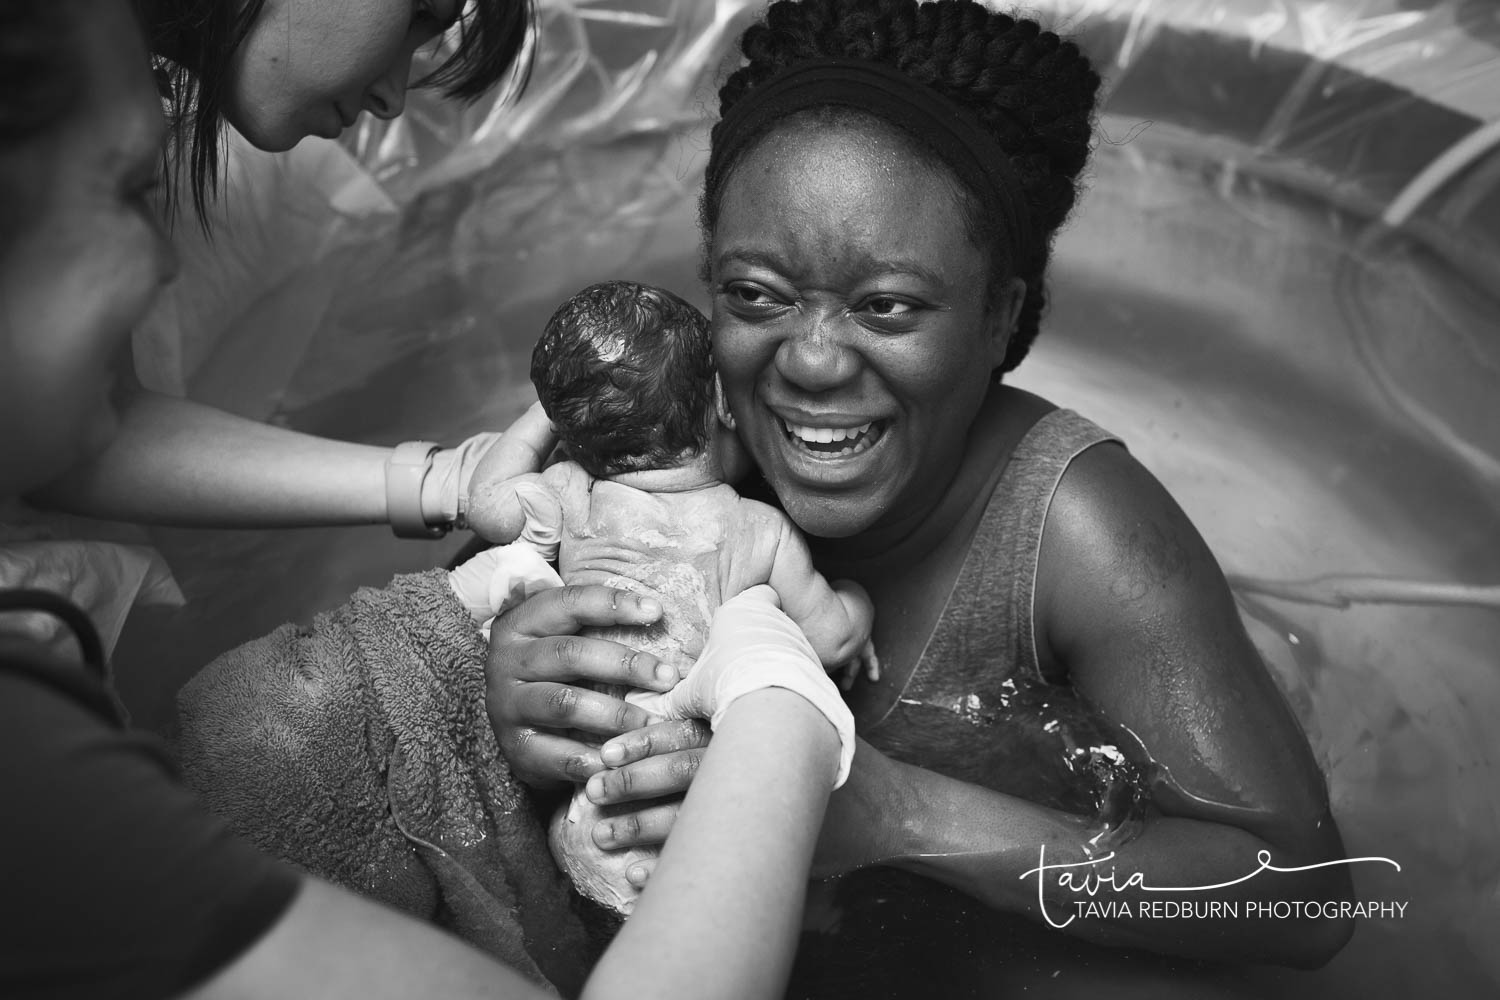
#4 BE READY FOR THE “I DID IT!” MOMENT.
This is a big one. One thing that I wanted to be sure and touch on is that as a new birth photographer, being ready for the “I did it!” moment means a lot of different things, but just know that it might happen at a different time than you think.
Sometimes it doesn’t happen immediately after baby is born. Sometimes it happens 5, 10, or 20 seconds after, or even 5 minutes after. You know, mom has just been through a lot and she’s like, “Holy crap, I just had a baby!” and it might take her a few minutes to have this reaction. So don’t expect it to happen immediately after the baby is born.
Sometimes I’ll even say, “Hey! You did that! You just had a baby, good job mama!” and that’ll snap her out of it, and she’s like, “Oh, I did it!”
This is what I call the “I did it” moment. I don’t know if anyone else calls it that, but when I say that, you know what I mean.
Now, when you have a mom who’s having a natural birth, and even some that aren’t having a natural birth and are just in a position other than lying down, think about how baby’s going to come out and where mom is going to be for her “I did it” moment. For instance, if she’s having baby on her hands and knees and you’re behind her when baby comes out, you’re going to miss her reaction. Just be aware of those variables while she’s delivering. Is a nurse going to step in front of you and start wiping baby off? Be aware of that. Those are all things I learned through experience and through shooting a lot of births, so I wanted to tell you guys that so maybe you don’t have to learn the hard way.
So, above all things, be ready for the “I did it” moment. This is what birth photography is, this is what sells birth photography, and this is what moms think of when they think of birth photography. They’re interested in the rest of it, in the story of the labor, but this is what clients really want. At least, this is what my clients want.
#5 COMMUNICATE WITH THE STAFF/BIRTH TEAM.
This is especially important before mom gives birth that she checks with her doctor and makes sure it’s okay that a photographer is in the room. That’s really, really important. I always have my clients check and make sure the hospital doesn’t have any policies against it, and that the doctor doesn’t have any policies against it.
Beyond that, once I get to a birth, I introduce myself to the nurse, “Hi, I’m Tavia. I’m going to be taking pictures for so-and-so. I want to make sure I’m out of the way while still giving her great photos, so just let me know where I can stand.”
I want the staff to know we’re on the same team.
I want them to know I’m there to serve the mom just like they are.
So I’ll just have a little pow-wow and say, “Hey, I’m Tavia, and here’s what I’m here to do. I’m not interested in being in the way, and I’m not interested in shooting when you don’t want me to shoot. I want us to work together to make this mom happy.”
Most of the time, the staff is cool with that. Just make sure communication is open. Same goes for a home birth team.
BONUS TIP: GET SHARP IMAGES WITHOUT GRAIN
Someone in my Facebook group asked me how to photograph births without getting a bunch of noise in your images. I know this was a big concern for me when I first started, especially since I shoot with a Canon Rebel which does not handle ISO noise super well. I thought that I needed to get a more expensive camera ASAP because that was going to make my images so much better.
I have two things to tell you about that, and neither one involves getting a new camera:
The first thing of course is use flash.
That’s what I’ve been doing for a couple of years now, and I know that it seems super scary to add a new element in, but don’t be afraid of it, and maybe try to play around with it. It really will enhance your images significantly.
I did a Facebook Live all about using flash, so you can go back and watch that. I would not use a pop-up flash though; I’d use a speed light or some sort of on-camera flash that you can rotate and bounce the light.
Thing number two is to slightly overexpose your image.
Instead of freaking out because it’s so dark and your image is kind of dark to begin with, go ahead and bump your ISO a little bit and lower your shutter speed a little bit to get more light in the actual image.
Overexpose your image just a little bit and you’re not going to see as much of the grain. The grain comes through when you when you shoot a stop too dark and you’re trying to lighten it while post-processing in Lightroom or Photoshop. When you’re trying to brighten it back up, that’s when the grain really comes through.
I got one of my favorite images during a home birth that was very, very dark. It was the middle of the night and there was maybe an overhead light on in the bathroom and a lamp, but the image was still quite sharp. My settings for this particular image were: ISO 320, f/3.2 (honestly more narrow than I usually shoot), and 1/200. I did use a flash in this image.
Just imagine the possibilities your life can have shooting birth at 320 ISO. It just opens a whole new world of possibilities.
BONUS TIP #2: GETTING THE RIGHT SHOTS
Also in my Facebook group, I had a member say her biggest fear is not having the eye for creating beautiful images and capturing emotion and detail like she has the desire to.
The emotional, detailed images you see from me and other established birth photographers come from learned skills. That’s something you can practice and replicate. I’m not saying you should copy some of these images, but I’m saying that the more you do it, the easier it’s going to become. Also, don’t forget that shot list. I know it sounds cheesy, but if you have a shot list and you know what you want going into it, and you’re expecting the “I did it” moment and all those other things we’ve talked about, it’s going to be a lot easier to capture beautiful images.
So don’t be intimidated. Don’t feel like any birth photographer just goes in and automatically knows how to do it. They learn, they spend time analyzing birth photos and different situations, and they practice a lot. It’s a learned skill, so don’t feel intimidated.
I know that’s easier said than done, but it really is something that you can learn.
I hope this episode gave you some ideas and inspiration!
Take a moment to write down your next step – what’s something you want to remember or do after listening to this episode! Write it down, and share with me on IG stories!
If you’re enjoying this podcast, please hit SUBSCRIBE wherever you’re listening and thank you so much for leaving the show a review on iTunes! I read each and every one and it helps this podcast reach more people so thank you! If you need help leaving a podcast, because lets be honest, iTunes doesn’t make it super simple, HA! Go to thebeautyinbirth.net/podcast and I’ll walk you through exactly HOW to leave a review and subscribe.
If you’re wanting to take your birth photography to the next level, visit certifiedbirthphotographer.com to learn how to stop stressing about all the “what ifs” in birth photography & prove your ability to deliver a viral-worthy gallery!
Free Facebook Group for Birth Photographers: https://www.facebook.com/groups/1160965310584331/
Find Tavia on Instagram: https://www.instagram.com/_thebeautyinbirth_


